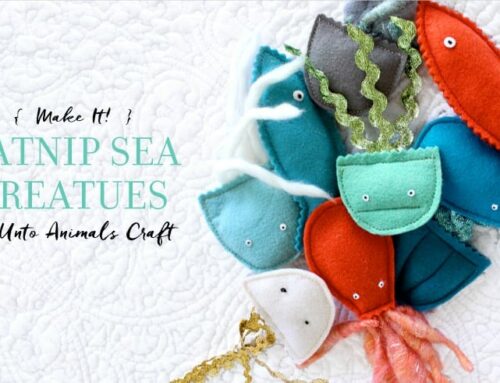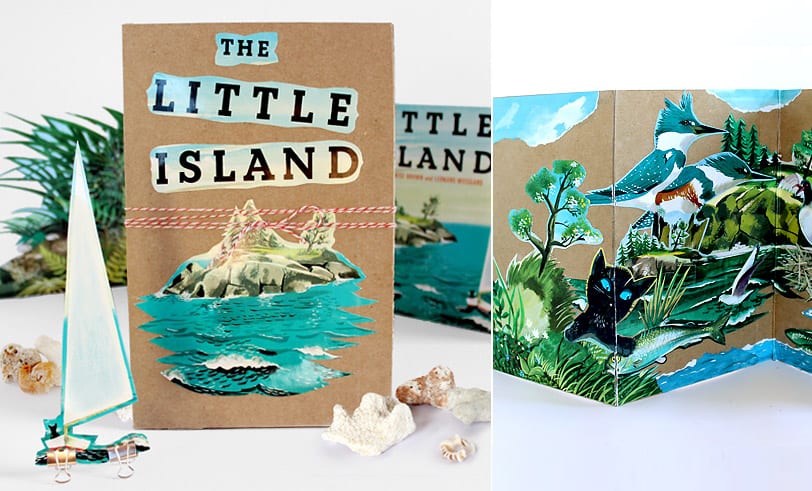
Another Margaret Wise Brown favorite to add to our collection of books recycled into crafts. When the story is over but the tale is one you and your kids want to remember for years to come, why not reinvent the wheel and turn the story into a book-turned-playscape.
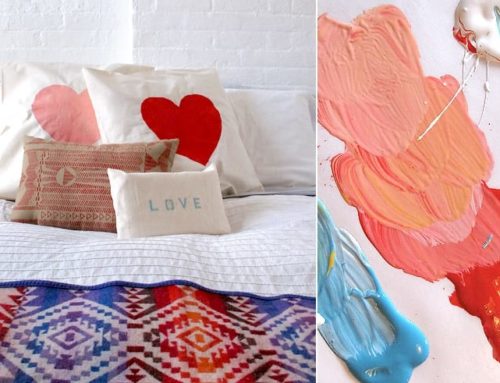
The Little Island is the sweet tale of an island in the ocean that changes as the seasons come and go, as the weather turns and as the animals inhabit it. The images are so beautiful and the illustrations are truly enchanting. We couldn’t help but use them to make an accoridon book of our own, for story telling activities once the words are known by heart from times read over and over. With collage and cutouts you and your child can create the world that surrounds The Little Island and sail through the scenes.
What You Need:
• The Little Island, or another book that you’re not afraid to tear apart.
• Accordion Book Chipboard or Medium Weight Craft Paper
• Kraft Tape
• Scissors
• Glue Stick
• Mini Binder Clips
• X-acto Knife
• Mod Podge
• String
Directions:


COLLECT all equipment needed for the project.
CHOOSE the images you think best tell the story according to the amount of panels on your accordion book.
CUT the chosen pages out of the book using an x-acto knife for a precise and clean cut.


REMOVE all pages in tact, setting aside the cover.
CUT the specific images of choice using scissors. Don’t forget to start with the title of your book!


WHEN CUTTING the images, begin with a broad cut (keeping a boarder around the image) to separate them from the page.
CUT the separated images with a more detailed cut, removing the border and allowing the detail to form.


MAKE your accordion book by laying 5 panels side by side.
TAPE your panels together with a strip of tape, alternating front and back sides, and trimming the remaining tape at each end.
ALTERNATE SIDES: the panels will fold in or out depending on which side the tape is on, so remember to alternate your tape as you go.


ARRANGE your images in the order of the story, laying them out along the accordion book’s panels.
GLUE the images down in their arranged places.


USE mod podge to ensure the images are glued down in place and are flat on the panels.


USING your x-acto knife, cut gently down the edges of each panel to ensure the images don’t rip when the panels are bent.
BEND your accordion book in the correct way to tell your story in order.


KEEP some images separate (not pasted into the story), to allow for story telling with movement of images.
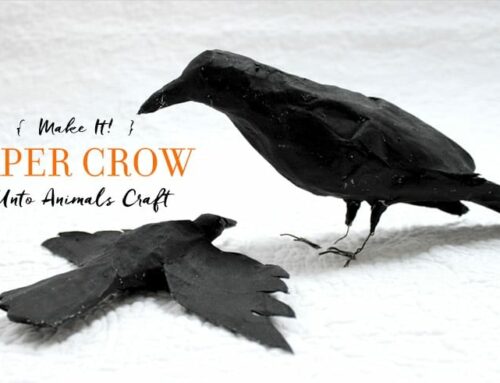
CUT the boat from the cover out, using a detailed cut. The boat is a nice image to keep separate as it represents the movement of the island around from season to season. The boat from the cover is a bit sturdier as it’s printed on a heavier cardstock, so will stand better on its own.
MINI BINDER CLIPS can be used to hold the boat up, while acting as a stand to be dragged along as the story is told.


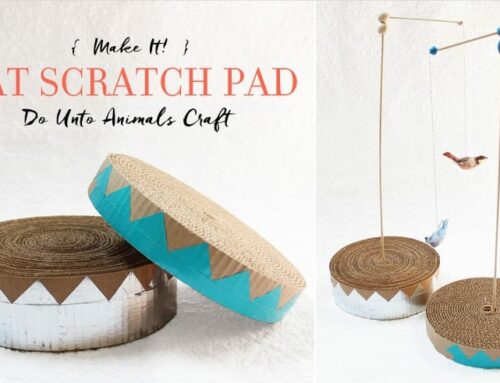
OTHER IMAGES, such as the greenery on the island, can be kept separate to use as some 3D decoration for the story telling set.
CUT strips of cardboard bent in half to act as a stand.
GLUE the back of the image onto one side of the cardboard strip, allowing the image to stand in place.

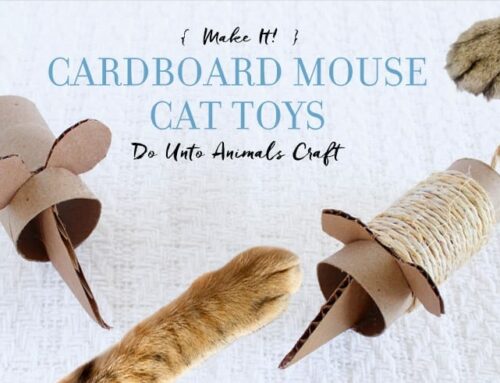
ARRANGE your accordion book and free-standing images in place to act as a diorama or as the scene for your story telling.
POKE a small hole at the end of the accordion book and tie a piece of string through.
USE the string wrap around the book and hold it together when it’s closed.


JOIN OUR EMAIL LIST
Sign up to get updates fromHey Friend Foundation